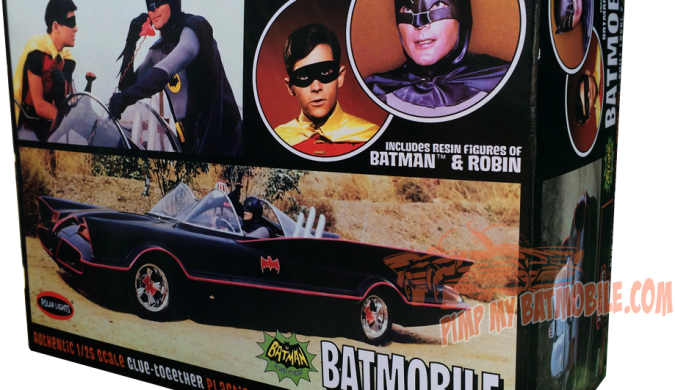
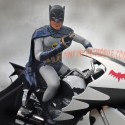
1:25 Scale
April 4, 2015
Pimp My Batmobile
No Comments
Batcopter
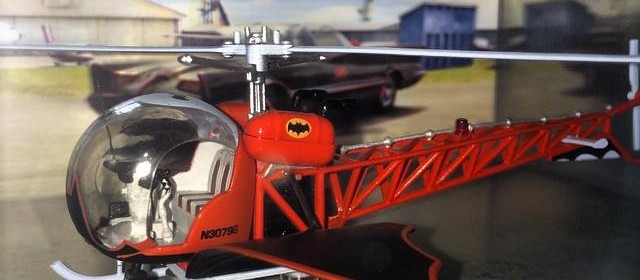
December 28, 2014
Pimp My Batmobile
No Comments
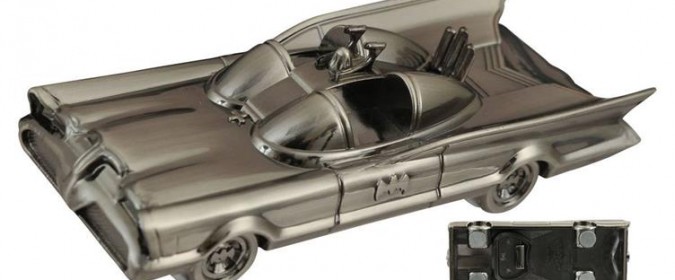
The amazingly comprehensive Automobilia line from Eaglemoss UK has been nothing short of impressive. From simply their unswerving commitment to include anything ever resembling a vehicle in a Batman comic,...
1:25 Scale
September 15, 2014
Pimp My Batmobile
No Comments
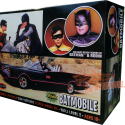
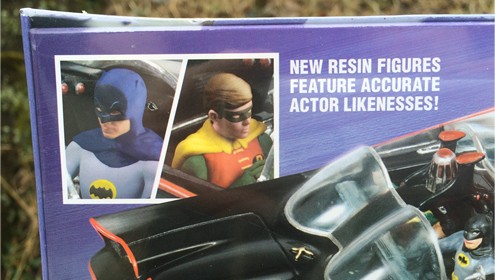
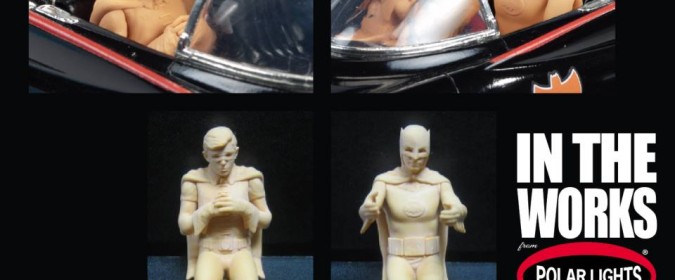
I didn’t have time for a full-on bull-session with Jamie from Polar Lights. But here are some responses to questions forwarded to me about the new release kit. And let...
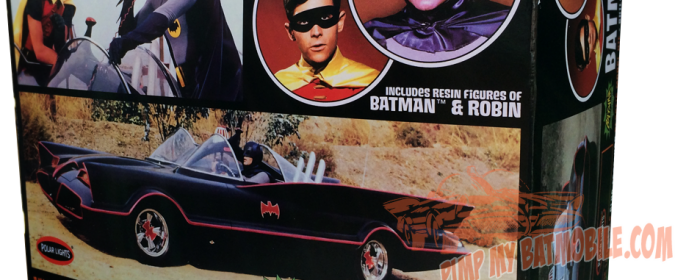
1:25 Scale
September 14, 2014
Pimp My Batmobile
1 Comment
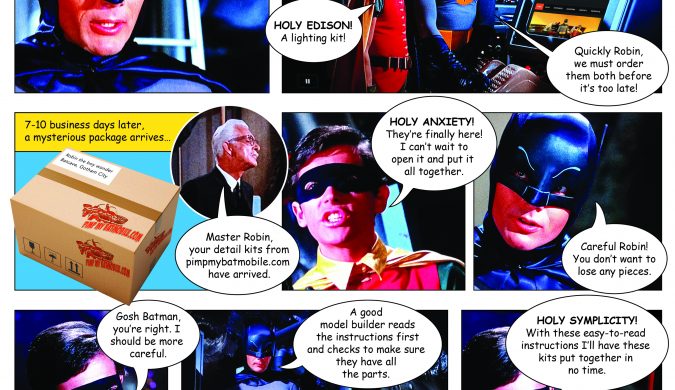
Customizing & Modeling
September 11, 2014
Pimp My Batmobile
2 Comments
We’re back (ish) Lots of changes. Lots of stuff learned. Think like Bruce Wayne off to Nepal to learn the ways of the League of Shadows. Stay Tuned for more...


