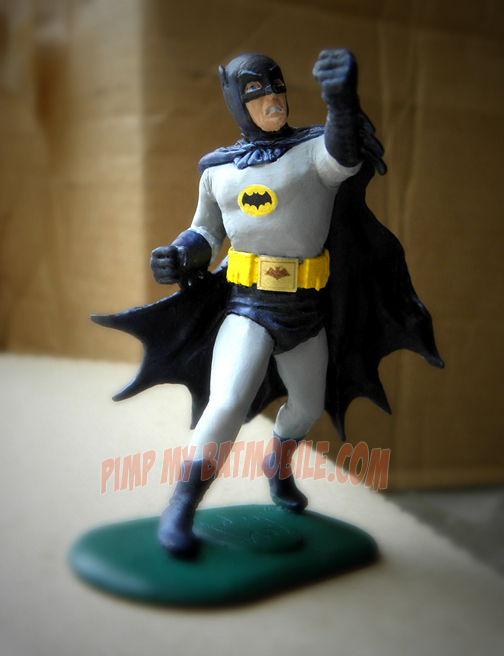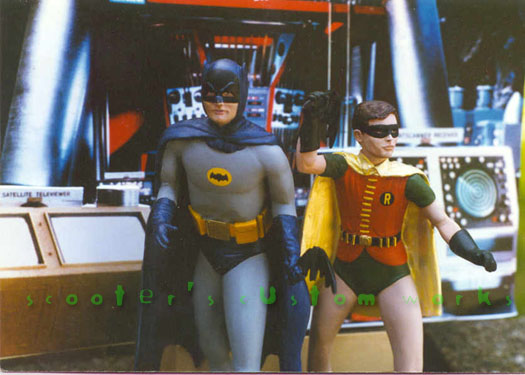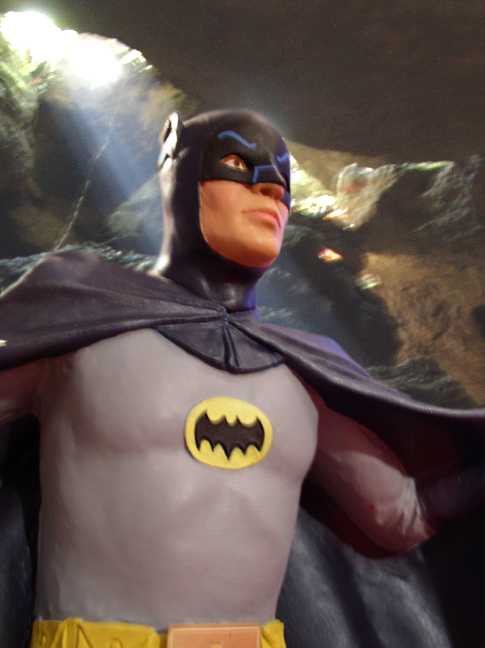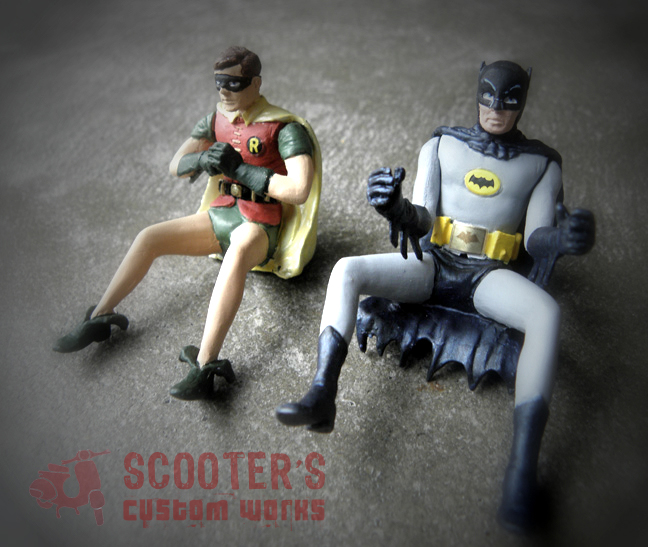
In addition to Batmobile modeling, I’ve been painting the 1966 Batman characters in 3D since I was kid. So many people have asked for tips on how to recreate the 1966 costumes of Batman (Adam West), Robin (Burt Ward), and Batgirl (Yvonne Craig) in paint, that I finally put together a painting guide. In places in this guide you’ll see that I reference the actual fabrics and materials used in the original costumes. There is no better resource for information about the original costumes than the work that’s been done by Scott Sebring and Chuck Williams (of Williams Studio) over on the 1966 Batman Board. Any details that you need can be garnered from the costume threads they’ve posted over the years. TEXTURE is the key word that will get you a believable model. Use flats and glosses and special materials whenever indicated to get realistic effects. I personally do NOT use black washes or shading tones for depth. I paint everything like the original materials used, and let the natural lighting of the world give it depth. I airbrush only flesh and skintones and always hand-brush clothing to give it a real, unpredictable fabric quality.
My recipes are as follows:
Batman (Adam West)
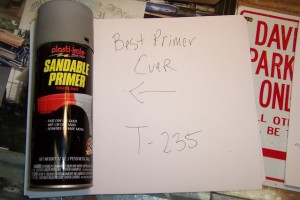
1. Bodysuit Grey: (thanks to Chuck Williams & Scott Sebring) Adam’s bodysuit (tights and leotard) were a vintage two-way stretch 100% nylon. “Supplex” and “Spandex” is what the newer repro suits are made from. The limited sheen is still the same in context. The old stuff did have a bit more shine. On camera, under studio lights though, it’s a flat grey that doesn’t reflect much light back and is medium weight so doesn’t show a lot of body detail underneath. (Though sometimes you do get to see seams and sweat stains!) The grey paint that I use to duplicate this is a Plastikote fast dry lacquer auto-primer (also sold under the Omega brand) There are a few different greys that they make, but the T-235 is the one that I use. It has a tiny bit of the violet tone in it that mimics Adam’s suit well, and is a very thin, easy coverage spray. The bonus is that this is the absolute best primer I’ve ever used for anything, so it can be used as a base for almost any character’s clothing (not for fleshtones though) and almost all general modeling needs. You can buy it at some auto-body stores or here online.
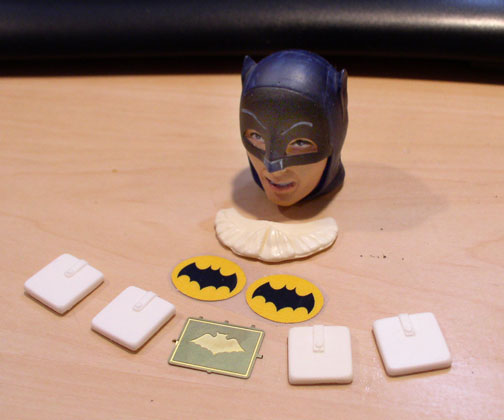
2. Chest Bat Emblem – Adam had chest emblem stickers. To get the full raised, separate sticker effect in scale model form – use chest emblem stickers! I have vinyl peel-and-stick decals available in many scales. Some of our parts come with them. After positioning on the grey bodysuit area, heat it with a blow dryer and dullcote it afterwards as well. You can also use wet-slide decals or paint the emblem on by hand. (Good luck with that!)
3. Cape/Cowl/Trunks/Glove Blue The Navy blue satin material that makes up the rest of Adam’s suit is a complex thing to render using paint. My recipe is a multi-step process developed by Tim Meyer of TPM Customs that goes like this:
- Basecoat– First, depending on how “lit” you want the blue-ness to look, put down a basecoat of either the Plastikote Grey or dark blue, Payne’s grey or black. Each one will affect the final satin finish coat differently.
Lately, I’ve been liking the way a darker undercoating has photographed in daylight, so I’ve been using a Payne’s grey undercoating for all of the navy satin areas. I use a Delta Ceramacoat acrylic Payne’s grey (over the primer) But if you want a bit brighter look, that more overtly shows the blueness – I’d suggest trying it with a medium blue (like Tamiya’s standard flat blue)
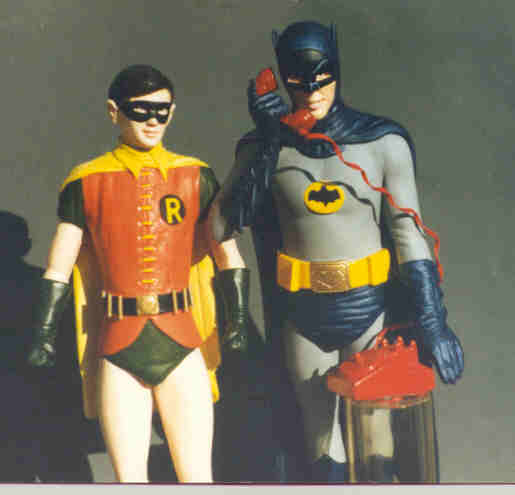
- Then comes the “satinization” techniques. Tim and I have experimented with dozens of pearlescent and metallic blues. Most are too out of scale* or candy-looking. Especially when you need to tone them down later. Sometimes a clearcoat will bring out the yellowness of whatever http://buycialisquality.com metal flakes they are using to metallize the paint and it will make the blue go toward the green spectrum. You don’t want that. So the tip here is after the basecoat, BRUSH on a coating of Testor’s Arctic Blue Metallic (Model Master) from the jar. (DON’T use the spray.) This goes on and cures VERY shiny and thick/wet looking. Don’t worry, we’ll address this later. Use the bottle – because when you let it sit, the metalflake/silver will settle to the bottom of the jar and you can control the mixing of the silverflake.
- Dull-It. Let this sit for about an hour. Bbefore this coat has fully dried and cured, hit it thoroughly with Testor’s 1260 Spray-On Dullcote. (Krylon matte is also an option but doesn’t dull quite the same way) This softens the candy-blue metallic into a satin-like fabric appearance. I generally come back a few times and flatten out any hot-spots a few times with this spray. Then you can see how much blue you need to re-emphasize (if any) and go back and forth a couple times until it’s the way you want it. I find that working with lighter basecoats, like white or light gray, the blue is thin and bright and needs recoating more often in creases. That’s because the dullcote really flattens the metallic effect out and you get more transparency. That’s why I’ve been really liking it with Payne’s grey underneath. You can get it to look more hard-leathery for the boots and satiny for the satin, simply by turning up/down the silver content in the Arctic Blue and playing with the clear-coating levels.
4. Fleshtone & Eyes – This is a bit out of order but for fleshtones, I adhere to master modeler Dave Fisher’s airbrush process. Dave was the airbrush guru for Amazing Figure Modeler in the 90’s and his tutorials on fleshtone painting are unmatched. I prime the flesh areas with Tamiya white model primer and then use his steps from the famous Modelmania DVD set. You can apply your favorite fleshtone painting process. Eyes are tricky too. Either use your own tried and true methods, or follow Dave Fisher’s plans like I do. They won’t let you down. (Hint – a little Ochre and Payne’s Grey wash along with some gloss go a long way to mimicking human eyeballs) The cowl/mask guides are basically all about which season/cowl you want to reflect. We have template guides available, but you can pretty much freeze any shot from an episode and get a plan for painting the cowl the way you want.
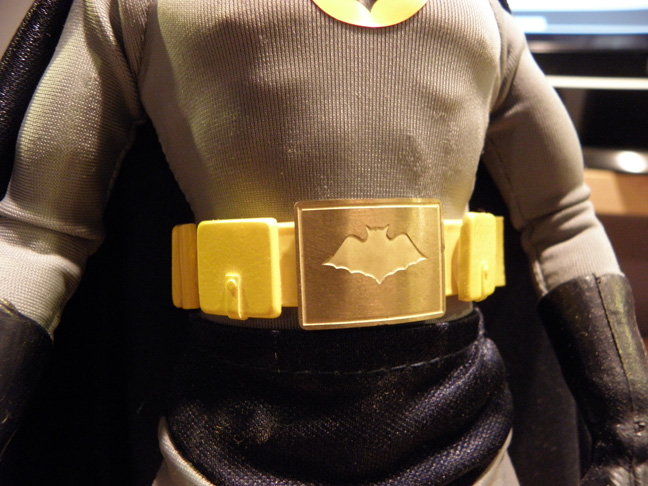
5. Utility Belt and Buckle – These should come last because they’re the only glossy aspects (other than the eyes) of the whole figure painting process. The belt was leather-covered/painted metal and wood. The buckle was etched brass. First prime the whole belt area with white. Then either mask everything else and spray or handbrush with Tamiya Lemon Yellow. I usually do the later belts (strap/button) but this works for the triangle flap pilot belt design as well. Paint this after sealing everything else with the Dullcote.
The Bat-Belt-Buckle is tricky. In larger scales, I use photo-etched brass buckles which mimic the look of the original 1:1 scale buckles perfectly. But in small scales, I use a scrap piece of brass and a clear decal (printed in brown) that simulates the etching effect. We include these on some of our premium parts. To duplicate them yourself, use the buckle artwork and print out a clear small decal using any of the home-printer based printer decal stock papers available.
That’s our Adam West Batman method. eMail us with any comments/questions and stay tuned for the next installment.
(Coming Soon: Burt Ward Robin, Yvonne Craig Batgirl and MORE. Subscribe for updates or check back soon.)
*How can paint be out of scale? It’s easier than you think. See our Yvonne Craig painting guide for an in-depth explanation.
